When a student circuit does not work, the fastest fix is to check the source, the closed path, the component orientation, the breadboard placement, and the loose connections in the same order every time. A repeatable troubleshooting checklist keeps students from guessing and helps them explain what failed instead of only asking the teacher for a rescue.
Last updated: June 8, 2026
That matters because troubleshooting is not separate from STEM learning. It is the part where students compare a prediction to the evidence in front of them. A circuit that fails to light or buzz is still teaching something, but only if the class has a routine for finding the cause.
What has to be true for a simple circuit to work
The Physics Classroom gives a strong beginner definition: charge will not flow unless there is an energy source capable of creating a potential difference and a closed conducting loop through which the charge can move. Khan Academy says the same idea in simpler circuit language: a closed circuit has a continuous pathway for current to flow through, while an open circuit has a gap that stops that flow.
Those two ideas create the foundation of a troubleshooting checklist. If the source is missing, weak, or disconnected, the circuit will fail. If the path is open, the circuit will fail. Everything else belongs after those checks.
The student troubleshooting checklist
| Check | Question to ask | What to look for |
|---|---|---|
| Source | Is power actually present? | Battery connected, battery not drained, switch on if the design needs it. |
| Path | Is there one complete loop? | No gaps, no disconnected jumper, no broken switch path. |
| Orientation | Are directional parts facing the right way? | LED polarity correct, battery polarity correct, transistor or sensor placed correctly if used. |
| Placement | Are the parts in the intended breadboard rows? | Leads not accidentally placed in the same row or wrong side of the center gap. |
| Connection quality | Is anything loose, bent, or only partly inserted? | Wires fully seated, battery clip secure, resistor and LED legs making contact. |
This order matters because it moves from the simplest, highest-probability problems to the more specific ones. It also keeps students from changing five things at once and then not knowing what fixed the problem.
Start with the power source
Students often jump straight to the LED or resistor because those parts are visible. But if the battery is weak, disconnected, or reversed, the rest of the build does not matter yet. A quick voltage check is usually the best first measurement. That is one reason the existing article on what voltage means is such a strong prerequisite for troubleshooting.
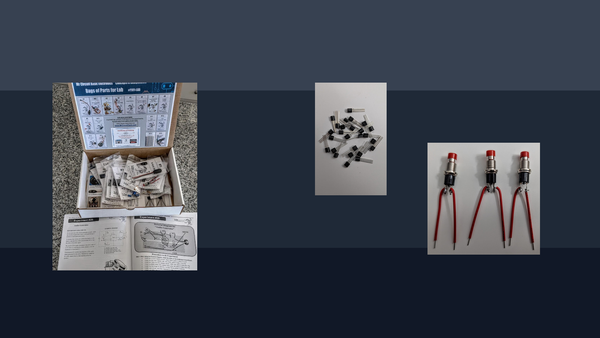
If a class is using a low-voltage beginner setup, the Mr Circuit Lab 2 digital multimeter STEM kit is the most relevant internal example because it turns source checks into a taught skill instead of a teacher-only move.
Check for an open path before blaming the parts
Many failed student circuits are really open circuits. A jumper wire may be in the wrong row. A switch may still be open. One lead may look connected while actually sitting in an isolated breadboard strip. Fluke defines continuity as the presence of a complete path for current flow, which makes continuity testing a useful power-off check when students suspect a break in the path.
This is where a breadboard lesson helps. If students are still shaky on rows, rails, and the center gap, direct them to What Is a Solderless Breadboard?. A surprising number of "concept" failures are really layout failures.
Watch for directional parts
LEDs are one of the most common beginner stumbling points because they are directional. If the LED is reversed, students may still think the circuit is complete because all the parts appear to be connected. That makes orientation its own checklist step. The same is true for battery polarity and for more advanced parts such as transistors or some sensors.
Directional mistakes are useful teaching moments because they show students that electrical parts are not interchangeable decorations. Their position and orientation change circuit behavior.
Use symptom patterns to narrow the cause
| Symptom | Likely causes | Best next check |
|---|---|---|
| Nothing lights or moves | No source, open path, loose battery connection | Measure source voltage, then inspect the loop. |
| LED still dark but battery is good | LED reversed, open path, wrong row placement | Check polarity and breadboard rows. |
| Component gets hot or acts strangely | Missing resistor, wrong placement, short path | Power off immediately and inspect resistor placement. |
| Works only when touched | Loose wire or partial contact | Re-seat connections one by one. |
Turn troubleshooting into a student habit
A useful classroom rule is that students must point to the exact part of the checklist they are testing before they change the build. That keeps troubleshooting evidence-based. Instead of saying "it doesn't work," students say "we checked the source, and now we are checking whether the path is open between the switch and the LED."
That language improves learning because it connects the build to the vocabulary in current and resistance lessons. Students start to see failure as data.
What teachers should avoid
- Fixing the circuit without explaining what changed.
- Letting students move parts randomly until the build happens to work.
- Skipping the source check and jumping straight to advanced explanations.
- Using continuity or resistance mode on a powered circuit.
- Treating troubleshooting as a punishment instead of a normal part of design and testing.
TeachEngineering's circuit lessons are useful here because they frame circuits as systems with identifiable components and functions. That perspective is exactly what beginner troubleshooting needs.
A one-period troubleshooting routine
- Students build a simple LED circuit.
- The teacher intentionally introduces one fault into sample builds: weak source, open switch, reversed LED, or wrong breadboard row.
- Student pairs apply the checklist in order.
- They record the symptom, the first failed check, and the fix.
- They explain why the circuit failed using the words source, path, orientation, or placement.
This routine works because it builds troubleshooting into the lesson instead of waiting for it to happen by accident. It also pairs naturally with project posts such as How to Build a Simple Night-Light Circuit, where small build errors are common and educational.
Why this skill matters beyond one circuit
Students who can diagnose a dead LED circuit are better prepared for larger builds later. They become calmer, more independent, and more willing to test an explanation instead of asking for an immediate answer. For teachers building a bigger program, the For Schools and Educators page is the best internal planning link because it helps position low-voltage troubleshooting as a reusable class routine.
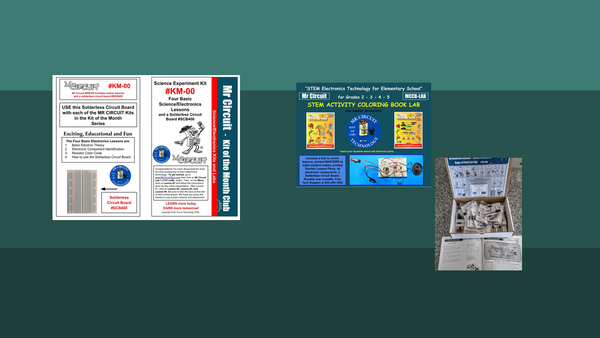
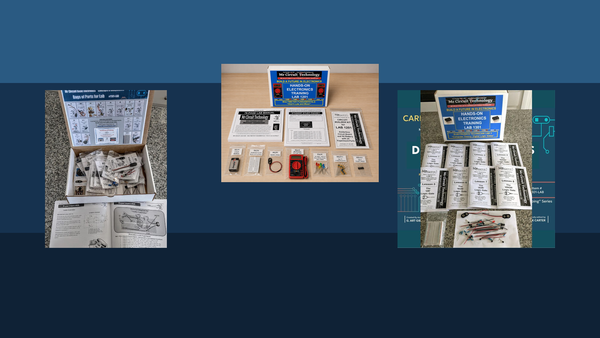
The Mr Circuit Lab 1 Basic Electronics STEM Kit is the best soft product link for this topic because the simplest troubleshooting lessons work best on visible, reusable, no-solder circuits.
Frequently Asked Questions
Why does my student's circuit not work even though the wires look connected?
Because a circuit can appear connected while still having an open path, reversed part, or incorrect breadboard placement.
What should students check first?
Check the source first, then the closed path, then orientation, placement, and loose connections.
When should students use continuity mode?
Use continuity mode only when the circuit power is off and you want to test whether a path is complete.
Why not let students just keep trying different wire placements?
Because random changes prevent them from learning which condition actually caused the failure.
Is troubleshooting separate from STEM learning?
No. Troubleshooting is one of the clearest ways students practice evidence, reasoning, and revision.