A 555 timer works by watching a capacitor charge and discharge, then switching its output when that voltage crosses built-in trigger and threshold levels. In beginner circuits, that lets students create a one-time delay, a repeating blink, or a simple tone without needing a microcontroller.
Last updated: June 10, 2026
The part has lasted for decades because it gives students a clear first look at timing, repetition, and digital-style switching. The trick is to explain it in classroom language. Students do not need every internal transistor first. They need to understand that the chip is checking a voltage and changing the output when the timing capacitor reaches certain points.
What the 555 timer does
Texas Instruments still lists the NE555 as an active general-purpose precision timer. The product page says it supports astable or monostable operation, can time from microseconds to hours, and is specified for 4.5V to 16V supply operation. That sounds technical, but the classroom meaning is simple: the chip can either make one timed pulse or repeat a pattern over and over.
That is why the 555 timer shows up in beginner electronics so often. It gives students a visible output such as a blinking LED or a timed buzzer response while also introducing the idea that resistor and capacitor values influence behavior.
The simplest beginner explanation
A useful teacher explanation goes like this:
- The 555 timer watches the voltage on a capacitor.
- A resistor controls how fast that capacitor charges or discharges.
- When the voltage reaches one internal level, the chip changes its output.
- Depending on the wiring, the process either stops after one pulse or repeats.
Electronics-Tutorials explains the same behavior in more formal terms using the trigger, threshold, and discharge pins. For beginners, the important insight is that RC timing is what sets how long or how often the output changes.
Monostable vs astable in classroom language
| Mode | What students see | Good first example |
|---|---|---|
| Monostable | One timed pulse after a trigger | A short delayed LED or buzzer response |
| Astable | A repeating high-low output | A blinking LED or simple audio tone |
If you are introducing the part for the first time, start with astable behavior because students can see repetition immediately. A blinking LED creates a direct link between hidden timing and visible output.
How the 555 relates to earlier circuit lessons
The 555 timer is easier when students already understand a few earlier ideas:
- Voltage is a difference between two points in a circuit.
- Resistance affects how current behaves.
- A capacitor stores and releases electrical energy.
- A breadboard lets students test changes without soldering.
That is why this topic works better after students have some background from What Is Voltage?, What Is Resistance?, and What Is a Solderless Breadboard?. The 555 is not the right first component in a course, but it is a strong bridge into timing and digital behavior.
The few pins beginners really need to understand
Students do not need the full block diagram on day one. They usually only need the job of a few pins:
- Trigger: starts the timing event.
- Threshold: tells the chip when the capacitor has reached the upper point.
- Discharge: lets the capacitor empty at the right time.
- Output: drives the visible result such as an LED or speaker.
Electronics-Tutorials also notes the classic 1/3 Vcc and 2/3 Vcc switching levels. You can mention those numbers if the class is ready, but a beginner class often does better when you first say, "the chip changes state when the capacitor gets low enough or high enough."
What students learn from a 555 timer circuit
A good 555 lesson teaches more than one part number. It teaches that circuit behavior can depend on time, not just on whether the path is complete. That is a meaningful shift.
Students also begin to see how analog changes and digital-looking outputs connect. The capacitor voltage rises and falls continuously, but the output seems to snap between on and off. That makes the 555 a useful bridge between earlier component lessons and later digital topics such as logic gates.
Common beginner mistakes
- Treating the 555 like a magic black box with no timing components attached.
- Skipping the role of the resistor and capacitor.
- Trying to teach every pin function before students see one working example.
- Confusing a single timed pulse with a repeating oscillator.
- Moving straight to complicated applications before students understand the output behavior.
The best fix is to keep asking two questions: what is the capacitor doing, and what output behavior do we expect because of that?
Where Mr Circuit fits naturally
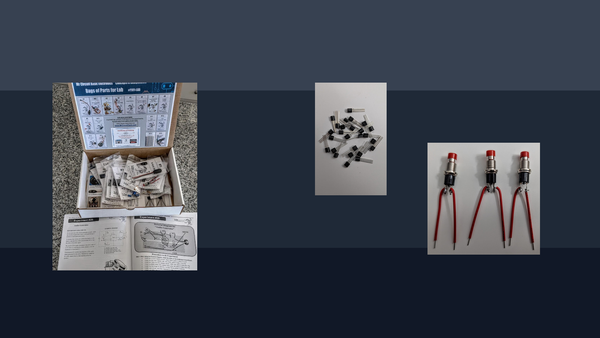
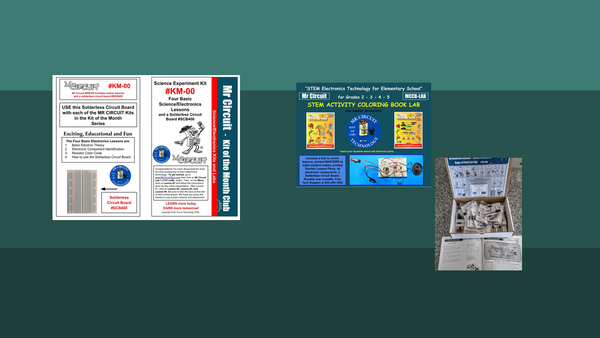
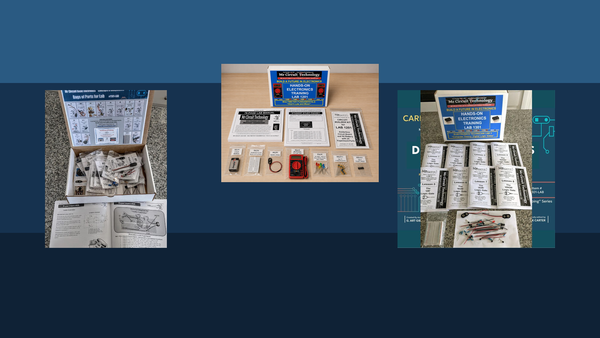
The strongest internal product example is the Mr Circuit Lab 5 Digital Electronics STEM Kit. The product sequence explicitly includes learning how a 555 Timer IC works and using timers, counters, and digital systems in hands-on builds. That makes it a natural extension for teachers who want the concept to move from article to structured classroom practice.
For broader planning, quotes, and school ordering, the better general destination is the For Schools and Educators page.
Frequently Asked Questions
What is a 555 timer in simple terms?
It is a timing chip that changes its output based on how a capacitor charges and discharges through a resistor network.
What is the easiest first 555 project for students?
A blinking LED is usually the clearest because students can directly see the repeating output.
What is the difference between monostable and astable?
Monostable produces one timed pulse after a trigger. Astable produces a repeating output pattern such as blinking.
Do students need advanced math to learn a 555 timer?
No. They mainly need to understand that resistor and capacitor choices change the timing.
Why is the 555 timer useful in a beginner course?
Because it introduces timing, repetition, and digital-style switching with a real low-voltage circuit students can build and observe.