Teaching students to use a digital multimeter works best when you start with one low-voltage routine: identify the meter parts, measure DC voltage first, then switch to resistance and continuity only after the power is off. Students do not need every dial function at once. They need a repeatable method that helps them collect evidence from a real circuit.
Last updated: June 8, 2026
That distinction matters. In many beginner STEM classes, the meter shows up only after a circuit fails, so students treat it like an emergency tool. A stronger approach is to teach the multimeter as part of normal circuit thinking. Students build, predict, measure, compare, and explain. That turns measurement into understanding instead of random knob-turning.
What a digital multimeter should mean to beginners
Fluke's multimeter anatomy guide is useful here because it breaks the tool into parts students can learn quickly: the display, the function dial, the input jacks, and the test leads. For beginners, those are the only four ideas that matter on day one. Students do not need every specialized mode. They need to know what the screen shows, what the dial chooses, where the probes plug in, and why the red and black leads must be placed correctly.
That is why it helps to teach the multimeter only after students already have some background in voltage, current, and resistance. If they do not know what those words mean, the meter display becomes just another mystery.
Teach these functions first
| Function | Why teach it early | Best first example |
|---|---|---|
| DC voltage | Students can check whether a battery or low-voltage source is actually providing electrical potential. | Measure a battery before and after a build. |
| Resistance | Students can connect the idea of ohms to a real resistor and see that parts have measurable values. | Read the resistance of a single resistor with the circuit power off. |
| Continuity | Students can quickly test whether a path is open or closed. | Check a switch or wire path with the power off. |
Do not start with current measurement unless students already have solid habits. Beginners often move the red lead into the current jack and then forget to move it back. Fluke's voltage guide specifically warns that using the wrong input jack during a voltage test can short the measurement circuit. That is too much risk and confusion for a first lesson.
A simple setup routine students can memorize
| Step | Student action | Why it matters |
|---|---|---|
| 1 | Look at the dial before touching the probes. | Students choose the measurement on purpose instead of guessing. |
| 2 | Put the black lead in COM. | That stays consistent for the beginner routine. |
| 3 | Put the red lead in the V/Ω jack for voltage, resistance, and continuity. | Students build one stable habit for the most common class measurements. |
| 4 | Say out loud what you are measuring before touching the circuit. | This slows students down and reduces setup mistakes. |
| 5 | Remove the red lead first when finished. | That follows the safety order highlighted in Fluke's guides. |
A teacher can put that routine on the board for every lab until it becomes automatic. Once students stop improvising, the meter becomes much easier to teach.
The best first measurement is battery voltage
DC voltage is the cleanest starting point because students can measure something they already understand: whether the source is there. Fluke's DC voltage guide recommends setting the dial to DC voltage, placing the black probe in COM, placing the red probe in the V/Ω jack, and then touching the black probe to the negative side and the red probe to the positive side of the source. In class, that can be a battery pack or another safe low-voltage supply.
This first check answers a real classroom question: is the source strong enough for the build we are trying to run? It also trains students to look for evidence before changing wires. If the source is weak or missing, no amount of rewiring will fix the circuit.
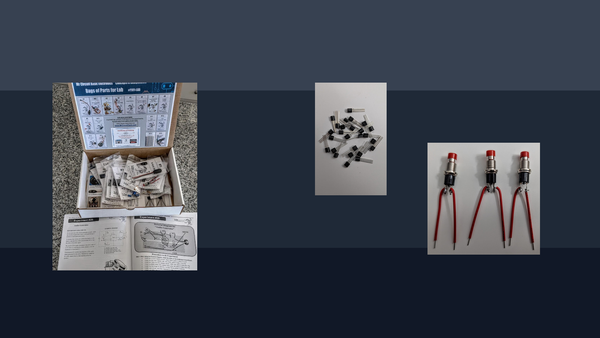
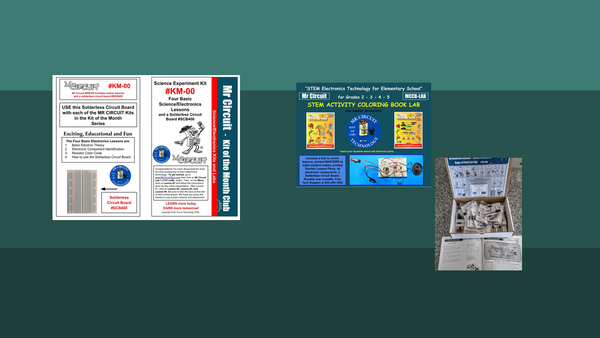
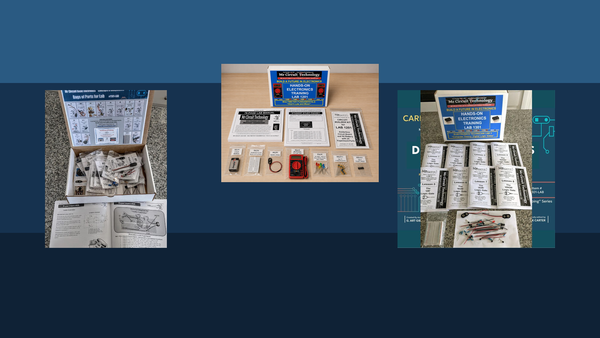
The Mr Circuit Lab 2 digital multimeter STEM kit is the most natural internal example because it puts voltage, current, and resistance work into a structured sequence instead of leaving teachers to invent the progression from scratch.
Teach resistance as a power-off measurement
Once students can read voltage, the next useful idea is resistance. This is where many teachers save themselves future confusion by making one rule non-negotiable: resistance is measured with the circuit power off. Fluke's general multimeter guide says to turn off circuit power before testing resistance or continuity. That is a clean classroom safety habit and an easy one to enforce.
Resistance measurement is most useful when students are holding a real resistor and connecting the number on the meter to the color bands on the part. That makes the reading concrete. It also pairs naturally with existing Mr Circuit content such as What Is Resistance?.
If students are not ready for meter work yet, the Mr Circuit Lab 1 Basic Electronics STEM Kit is the better earlier step because it gives them visible low-voltage builds before they add measurement.
Teach continuity as a troubleshooting shortcut
Fluke defines continuity as the presence of a complete path for current flow. That sentence is especially useful in class because it gives students a way to connect vocabulary to the beep on the meter. If the meter beeps in continuity mode, the path is closed. If it does not, the path may be open or broken.
Continuity is one of the fastest ways to teach troubleshooting because it lets students test a switch, wire run, or connection path without guessing. But the same power-off rule applies here too. Continuity testing should be done only when voltage is not present in the circuit being tested.
A teacher-friendly lesson sequence
- Show the display, dial, jacks, and probes on a large model or document camera.
- Have students repeat the probe setup: black in COM, red in V/Ω.
- Measure battery voltage first.
- Power the circuit off and measure one resistor.
- Power stays off while students test continuity through a switch or wire path.
- End with a short explanation question: what did the meter reading tell you that your eyes could not?
That progression matters because it moves from source, to part value, to path quality. In other words, it mirrors how students should think about a circuit.
Common beginner mistakes to prevent
- Turning the dial without knowing which quantity is being measured.
- Leaving the red lead in a current jack after a different lab.
- Trying continuity or resistance tests while the circuit is still powered.
- Touching the wrong points and then assuming the meter is broken.
- Collecting a number without explaining what it means.
The easiest fix is to require a full sentence with every reading. Instead of writing only "5.02," students write "The battery measured 5.02 V DC, so the source is present." That turns measurement into reasoning.
Why this matters before robotics and bigger projects
Students who can use a multimeter calmly are much better prepared for later troubleshooting. That is one reason this topic connects naturally to the circuit ideas students should understand before robotics. A motor problem, sensor problem, or logic problem often becomes much easier to diagnose when students can verify the source, the path, and the expected values.
For broader program planning, the For Schools and Educators page is the best internal destination because it frames these skills as part of a larger classroom system rather than a one-off tool lesson.
Frequently Asked Questions
What should students measure first on a multimeter?
Start with low-voltage DC battery measurements because students can quickly connect the reading to whether the source is present.
Should beginners measure current right away?
Usually no. Voltage, resistance, and continuity are safer and easier to teach first.
Can students test continuity on a powered circuit?
No. Continuity testing should be done with the power off.
What probe setup should beginners memorize?
For the most common class measurements, black lead in COM and red lead in the V/Ω jack.
Why use a multimeter in a beginner STEM class at all?
Because it helps students verify what the circuit is doing instead of relying only on guesses or whether an LED happened to light.