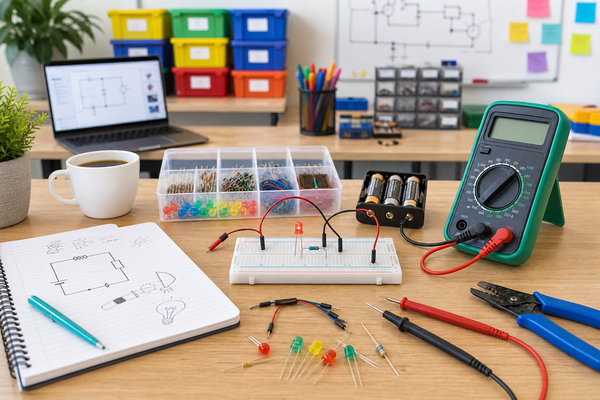
A simple burglar alarm circuit on a breadboard gives students a practical way to learn how an input can trigger an output. In the safest beginner version, a switch changes state, a transistor acts like an electronic switch, and a buzzer or sounder provides the alert. That makes this project less about “security” and more about sensing, switching, and signal flow.
Last updated: June 13, 2026.
Why this is a strong classroom build
This project works because students can see the whole chain clearly: the circuit is armed, the input changes, the transistor passes current, and the sounder turns on. That is a better beginner lesson than giving students a complicated schematic with too many parts at once.
The external references for this article focus on the core parts. The onsemi 2N3904 datasheet supports the use of the transistor as a general-purpose switch. Coto Technology's reed switch basics explains why a magnetic contact can work as a door-style trigger. Murata's buzzer overview helps distinguish buzzers from sounders so teachers can explain what the audio component is doing.
How the circuit works
| Part | Role in the circuit | Student explanation |
|---|---|---|
| Battery | Provides low-voltage DC power | This is the energy source. |
| Trigger switch or reed switch | Changes the input when a door opens or a magnet moves away | This tells the alarm when something changed. |
| 2N3904 transistor | Lets a small control change turn the output on | This is the electronic gatekeeper. |
| Buzzer or sounder | Makes the alarm audible | This is the output students hear. |
If you want the simplest possible version, use a pushbutton as the trigger during the first build. After students understand that version, you can explain that a reed switch does the same job with a magnet instead of a finger press.
Recommended beginner parts list
- One breadboard
- One 9V battery or other teacher-approved low-voltage DC source
- One 2N3904 NPN transistor
- One buzzer or piezo buzzer
- One trigger switch, pushbutton, or reed switch
- One resistor for the transistor input path
- Jumper wires
For most classrooms, low-voltage DC only is the right rule. Do not connect students to household AC wiring. This project should stay firmly in the same safe, no-soldering learning zone as other beginner breadboard builds.
Step-by-step breadboard build
- Place the transistor on the breadboard so each leg reaches a different row. Check the part orientation before wiring anything else.
- Connect the emitter to the ground side of the circuit.
- Place the buzzer in the output path so it can receive power when the transistor switches on.
- Use a resistor on the transistor control path to limit current into the base.
- Add the trigger switch so opening the contact or pressing the button changes the base signal.
- Double-check battery polarity before connecting power.
- Test the circuit once, then have students explain what changed electrically when the alarm sounded.
If students already know the night-light circuit, this build is a good follow-up because it uses the same idea of a small control path changing a larger output behavior.
What students should notice while testing
- The output does not need to be wired directly through the trigger switch when a transistor is doing the switching work.
- The alarm depends on correct polarity and correct transistor orientation.
- A circuit can have power and still fail if one row placement is off by a single hole.
- The trigger and the output are different jobs, even when they feel connected to the student.
Common mistakes
- Placing two transistor legs in the same breadboard row.
- Reversing the battery connection.
- Skipping the resistor in the transistor control path.
- Confusing a buzzer with a passive sounder that needs a different drive method.
- Testing too early without tracing the schematic row by row.
Those mistakes make this project valuable. They give teachers a reason to use the troubleshooting habits from the circuit troubleshooting checklist and, when needed, the measurement routines from the digital multimeter article.
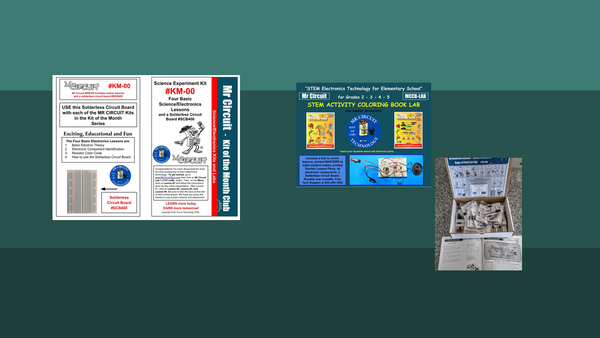
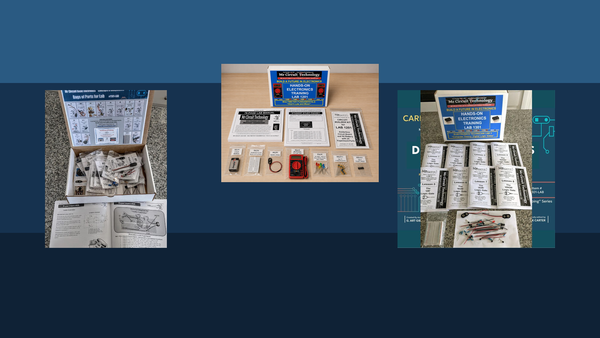
What to use in class
Mr Circuit Lab 1 is the best internal starting point because it keeps the build on a safe student circuit board and reinforces breadboard logic. Teachers who need more replacement parts can also point students or lab managers to the site’s NPN transistor replacement pack and pushbutton switch pack.
FAQ
Do I need a reed switch for the first version?
No. A pushbutton is often better for the first classroom build because students can test it more quickly. A reed switch can come later as the “door opens” version.
Why use a transistor in a beginner alarm project?
Because it teaches that a small control signal can switch a different output path. That is a core electronics idea students will use again in robotics and automation.
Can students build this without soldering?
Yes. A breadboard version is ideal for classroom learning because students can inspect, fix, and rebuild the circuit safely.
What if the buzzer does not sound?
Check battery polarity, transistor orientation, breadboard row placement, and whether the audio part is the correct type for the way you are driving it.
Is this a real security system?
No. Treat it as a teaching circuit that demonstrates triggering, switching, and alert outputs.
What article should students read next?
The night-light circuit, troubleshooting checklist, and multimeter lesson are the best next internal steps.