In a simple LED circuit, the resistor limits current so the LED does not draw more than it can safely handle. It also takes part of the supply voltage in the series circuit, which helps the LED run predictably instead of getting too bright, too hot, or damaged.
That is the answer most beginners need first. Students often think the resistor is just an extra part that teachers add to make wiring harder. In reality, the resistor is one of the main reasons the LED behaves in a controlled way.
What the resistor is doing in the circuit
SparkFun's resistor tutorial explains the LED case directly: a resistor in series with an LED limits current to a safer value. Adafruit's beginner electronics guidance adds the other useful idea: once the LED uses some of the supply voltage, the remaining voltage appears across the resistor in the series circuit.
That means the resistor is not only "slowing things down" in a vague way. It is setting circuit conditions that keep current from climbing too high.
| Part | Job in the circuit | What students notice |
|---|---|---|
| Battery | Provides voltage | The circuit has electrical push |
| LED | Turns electrical energy into light | The lamp turns on if current is in range |
| Resistor | Limits current and shapes voltage distribution | The LED stays controlled instead of overstressed |
Why the LED cannot just protect itself
An LED is not like a fully self-regulating light source in a beginner battery circuit. If the circuit allows too much current, the LED can overheat or fail. That is why current limiting matters so much in first builds.
The Physics Classroom summarizes the core relationship as V = I x R. If the supply voltage stays the same and the resistance is too low, current can rise. In an LED circuit, the resistor is the part that intentionally provides enough resistance to keep current in a safer range.
A simple classroom example
Imagine a battery, one LED, and one resistor on a breadboard. Students can see three useful outcomes:
- With a sensible resistor, the LED lights normally.
- With a larger resistor, the LED may still light but more dimly.
- With too little resistance, the LED may become too bright, behave unpredictably, or fail.
This is why a resistor works so well as a teaching example. It creates a visible result without requiring advanced math first.
What changes when the resistor value changes
| Resistor choice | Effect on current | Likely LED result |
|---|---|---|
| Too small | Current may be too high | LED can be overstressed |
| Reasonable | Current stays controlled | LED lights predictably |
| Much larger than needed | Current drops | LED becomes dimmer or may not light enough |
SparkFun's LED and resistor guides are helpful here because they show that resistor choice is tied to both the LED's forward voltage and the current you want in the circuit.
Does resistor position matter?
In a simple series LED circuit, the resistor can go on either side of the LED and still limit the same circuit current. SparkFun points this out in its Ohm's law experiment tutorial, and it clears up a common beginner misconception.
Students often assume the resistor must be placed only before the LED. In a single-loop series path, what matters is that the resistor is in series with the LED, not that it sits on one specific side of the component.
How to teach this in one short activity
- Build a working LED circuit with a resistor.
- Ask students what each part is doing.
- Swap in a larger resistor and compare brightness.
- Discuss what changed and connect that change to current.
- Link the observation back to resistance and voltage.
After that activity, the internal posts on resistance, voltage, and current become easier for students to understand.
When measurement helps
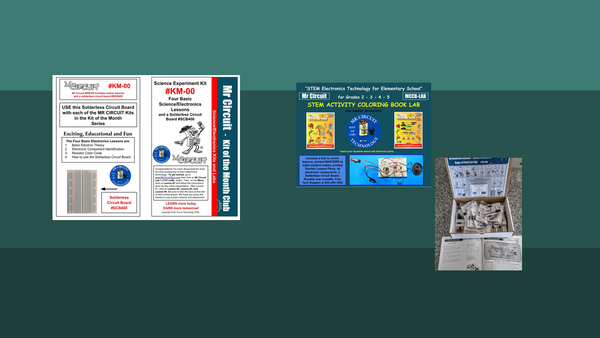
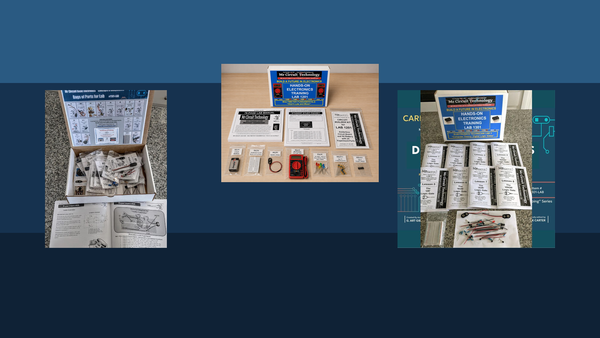
If a class is ready to go one step further, use a meter to compare supply voltage, resistor value, and circuit behavior. The Mr Circuit Lab 2 digital multimeter STEM kit is the best internal example because it turns "the resistor matters" into measured evidence.
For a simpler starting point, the Mr Circuit Lab 1 Basic Electronics STEM Kit is the more natural soft link because it focuses on low-voltage breadboard work without adding too much complexity.
Common student mistakes
1. Treating the resistor like optional decoration
Students should know the resistor has a job: controlling current.
2. Thinking brighter always means better
A brighter LED can mean the current is too high, not that the design is better.
3. Focusing only on memorizing a resistor color
Students learn more when they know why the value matters first. The follow-up article Reading the Resistor Color Code Without Memorizing fits naturally after this concept is clear.
Why this matters for classroom pacing
When teachers explain what the resistor is doing, troubleshooting gets easier. Students stop asking only "Did I wire it right?" and start asking "Is there enough resistance in this path?" That is a much stronger beginner electronics habit.
For broader implementation support, the For Schools and Educators page is the best overall internal destination.
Frequently Asked Questions
What does a resistor do for an LED?
It limits current so the LED can operate more safely and predictably in the circuit.
Can I put the resistor after the LED?
Yes. In a simple series circuit, the resistor can be on either side of the LED as long as it stays in series.
Why does a bigger resistor make the LED dimmer?
More resistance usually means less current, and less current often means less brightness.
What happens if the resistor is too small?
The current may be too high for the LED, which can overstress or damage it.
Is a resistor always needed with an LED?
In simple beginner battery circuits, a current-limiting resistor is the standard and safest way to control LED current.