Last updated: June 4, 2026
The engineering design process helps middle school students define a problem, set criteria and constraints, brainstorm solutions, build a prototype, test it, and improve it using evidence. In grades 6-8, the goal is not random making. Students learn to compare ideas, measure results, and revise designs until a solution works better.
What the engineering design process means in middle school
For middle school students, the engineering design process is a repeatable way to solve practical problems. Instead of asking students to "build something cool," it asks them to work like young engineers: identify what success looks like, stay within limits, test ideas, and improve based on data.
That matters because middle school is usually the point where STEM classes shift from pure curiosity to structured reasoning. According to NGSS guidance for grades 6-8, students should specify criteria and constraints more precisely, compare multiple solutions systematically, and revise designs several times to reach a better result. That is a stronger standard than simply completing a craft.
A simple step-by-step version teachers can actually use
| Step | What students do | What teachers look for |
|---|---|---|
| 1. Define the problem | State what needs to be solved and who the solution is for. | A clear problem statement instead of vague goals. |
| 2. Set criteria and constraints | List what success must include and what limits apply. | Specific measures, materials, time, or safety limits. |
| 3. Research and gather ideas | Look at examples, facts, or prior knowledge that may help. | Students using evidence instead of guessing blindly. |
| 4. Brainstorm possible solutions | Sketch or describe several options. | More than one idea before building starts. |
| 5. Build a prototype | Create a first model or test version. | A build that matches the team's stated plan. |
| 6. Test and collect data | Measure what happened and compare it to the criteria. | Evidence, not opinions, driving the discussion. |
| 7. Improve and retest | Revise the design based on results. | Students explaining what changed and why. |
How this aligns with real middle school expectations
NASA JPL's middle school NGSS engineering guide organizes grades 6-8 work around defining problems, developing possible solutions, and optimizing designs. The practical implication for teachers is straightforward: a valid middle school design challenge should include measurable success criteria, visible constraints, and at least one revision cycle.
That is also consistent with the classroom approach shared by NSTA, where students move through a repeatable template: identify the problem, gather information, brainstorm, select a best solution, make a model, test and evaluate, and refine. Repetition matters. When students see the same process used across different projects, they start to internalize engineering habits instead of treating each challenge like a one-off event.
What this looks like in a normal class period
You do not need a week-long makerspace unit to teach the process well. A one-class or two-class cycle often works better for beginners.
- Start with a concrete problem. Example: design a small system that keeps an LED lit reliably while using limited materials.
- Give clear constraints. Example: only one battery pack, one LED, one resistor choice, one breadboard, and 25 minutes.
- Require a quick plan before building. A sketch or a three-sentence plan is enough.
- Stop teams for a first test checkpoint. Ask: Did it meet the criteria? What failed? What evidence do you have?
- Give time for one revision before reflection.
This structure is especially useful for teachers who are still building confidence with electronics or engineering lessons. It keeps the activity focused on thinking, not on whether the teacher can improvise technical fixes for every group.
A classroom example: turn a simple circuit into an engineering challenge
A basic circuit lesson becomes engineering when students have to make decisions under constraints. For example, instead of telling students to build an LED circuit exactly one way, ask them to design a simple indicator light that must stay stable, use only approved low-voltage parts, and be easy for another team to troubleshoot.
That challenge introduces real design thinking:
- Students must define success: the LED turns on consistently and the build is easy to inspect.
- They must work within constraints: limited time, limited parts, and safe low-voltage materials.
- They must test, revise, and explain why one layout works better than another.
If you want a ready-made internal follow-up, the Mr Circuit guide on Ohm's Law in one class period fits this evidence-based approach well, because students can predict, measure, and revise with actual numerical results. For broader context, the cluster post What Is STEM Education? explains why this kind of integrated problem solving matters.
One lesson flow for grades 6-8
Here is a teacher-friendly sequence for a 45- to 60-minute middle school lesson:
- Launch the problem: present a short scenario students can picture immediately.
- Name criteria and constraints: have teams write them down before touching materials.
- Sketch two ideas: this prevents the first idea from becoming the only idea.
- Build version 1: keep the first prototype small and fast.
- Test with one shared measure: time, distance, stability, brightness, load, or accuracy.
- Revise once: require one change tied to evidence.
- Reflect: students explain what improved and what still failed.
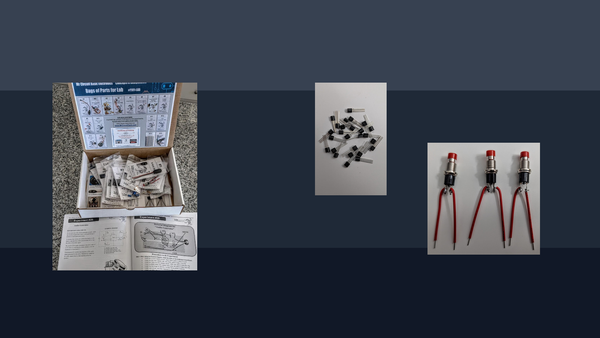
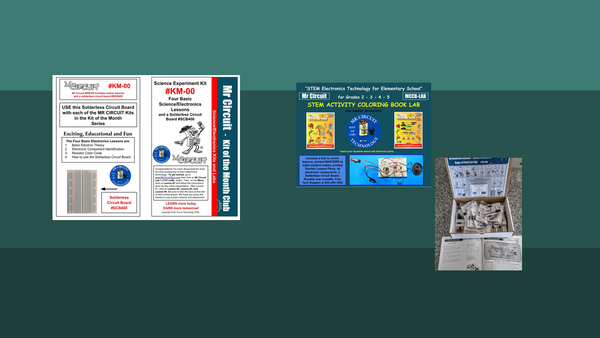
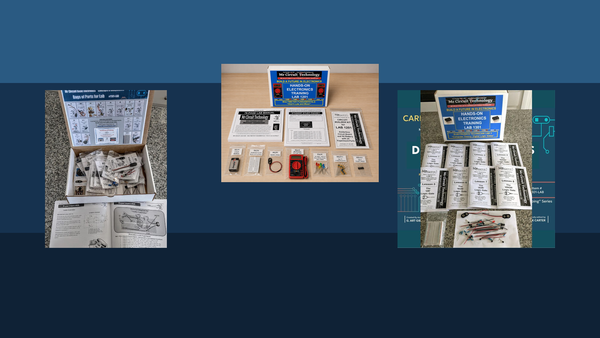
For school programs that want classroom-ready materials, the For Schools and Educators page is the best internal destination. If the lesson includes low-voltage circuit building, the Lab 1 Basic Electronics STEM Kit is the most relevant soft link because it keeps the example aligned with no-soldering beginner work.
Common mistakes that weaken the lesson
- Skipping criteria and constraints. Without them, students cannot judge whether a design is actually successful.
- Grading the prettiest build. Engineering is about performance and revision, not decoration.
- Allowing only one attempt. Real problem solving happens during the redesign step.
- Overhelping too early. Students need time to diagnose what is not working.
- Using hard-to-manage materials for beginners. Simpler materials create better thinking space.
If students struggle with basic component recognition during a circuit challenge, point them to Reading the Resistor Color Code Without Memorizing before the next build cycle. That keeps troubleshooting grounded in something concrete.
How to support mixed skill levels
Mixed-skill classes usually do better when every team has a shared process and a narrow problem. NSTA's classroom example emphasizes consistent templates and collaborative roles. That is a better approach than assuming advanced students will carry the entire build.
Useful supports include:
- one planning sheet for every challenge
- sentence starters for criteria, constraints, and revision notes
- visible checkpoints for sketching, testing, and reflection
- roles such as builder, recorder, tester, and presenter
These routines make the engineering design process more inclusive because success depends on communication and evidence, not just on who can build fastest.
Why this process matters beyond one project
The engineering design process teaches more than building. It teaches students how to make a claim, test it, learn from failure points, and improve with evidence. Those habits transfer to circuits, robotics, physics, environmental design, and eventually CTE pathways.
That is why strong middle school STEM programs treat engineering design as a repeated classroom routine. Once students understand that first ideas are provisional and revision is expected, they stop seeing mistakes as the end of the lesson and start seeing them as part of the work.
Frequently Asked Questions
Do middle school students need to memorize every step?
No. They need to understand the logic of the cycle: define, plan, build, test, and improve. A consistent template helps more than memorization drills.
What is the difference between a STEM activity and an engineering design challenge?
A STEM activity can include exploration or demonstration. An engineering design challenge specifically asks students to solve a problem under criteria and constraints, then improve their solution with evidence.
How long should a middle school engineering challenge last?
Beginners can learn a lot in one 45- to 60-minute cycle if the problem is narrow and materials are simple. Larger projects can run longer, but the process should stay visible.
Can I teach the engineering design process if I am not an engineer?
Yes. Your job is to structure the problem, criteria, testing, and reflection. Students do not need a professional engineer in the room to learn revision and evidence-based thinking.
Does every challenge need expensive materials?
No. NASA and TeachEngineering both feature effective challenges with simple materials. What matters most is the quality of the problem and the revision cycle.